Hardie board siding — made from fiber cement — has become a favorite among contractors and homeowners for its durability, beauty, and low maintenance. But before you commit, it’s essential to understand what goes into installation, what challenges to expect, and how to keep it performing at its best.
This benefits and drawbacks of fiber cement siding guide walks you through the process step-by-step — from planning to post-installation care — so you can make an informed choice.
Step 1: Evaluate Your Home’s Exterior Needs
Before selecting siding, inspect your home’s structure. Look for:
- Rot or water damage in sheathing or framing.
- Outdated vapor barriers or insulation gaps.
- Areas where pests or termites have caused deterioration.
Hardie board performs best on solid, dry surfaces — structural prep ensures long-term stability.
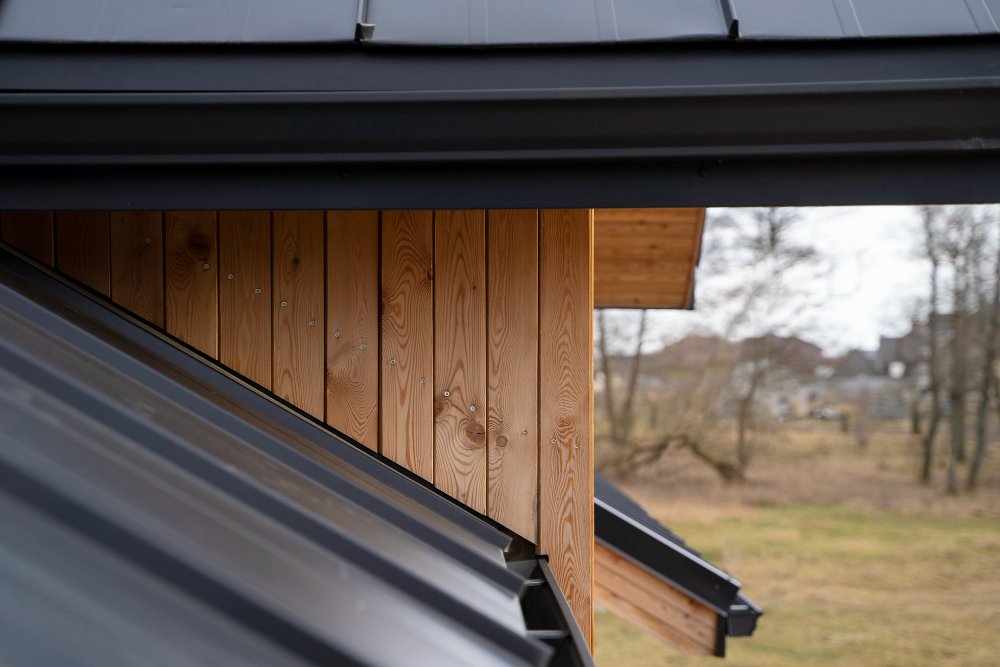
Step 2: Understand the Material
Hardie board (fiber cement) consists of cement, sand, and cellulose fibers pressed into durable planks.
Performance Snapshot:
- Lifespan: 30–50 years
- Fire Rating: Non-combustible (ASTM A118 certified)
- Maintenance: Repainting every 10–15 years
- ROI: ~90% (one of the highest in exterior remodeling)
Step 3: Plan for Professional Installation
Because Hardie board is heavy and rigid, professional installation is strongly recommended.
Why it matters:
- Each plank must be precisely spaced for moisture ventilation.
- Joints require flashing to prevent water intrusion.
- Incorrect nailing or cutting can cause edge cracking.
Pro Tip: Ask your contractor about certified Hardie installers — they’re trained in the brand’s exact specifications.
Step 4: Prepare the Work Area
Your crew will:
- Remove old siding and inspect underlayment.
- Install weather-resistant barriers.
- Flash windows and corners to prevent leaks.
- Cut planks using a special fiber cement saw to minimize dust.
This stage is crucial — it’s where most long-term issues begin if not done correctly.
Step 5: Install Hardie Board Siding
- Start from the bottom, ensuring each board overlaps slightly for proper water shedding.
- Secure using corrosion-resistant nails or screws.
- Seal all joints and seams with manufacturer-approved caulk.
- Prime and paint (or use factory pre-finished boards).
Installation Time:
- Average single-story home: 7–10 days.
- Two-story home: 10–14 days, depending on weather and access.
Step 6: Inspect and Maintain
Once installed, perform annual inspections for caulking gaps, chips, or moisture around joints. Clean with mild detergent and low-pressure water.
Maintenance Checklist:
- Check caulking every 2–3 years.
- Repaint when fading occurs (typically every 12 years).
- Trim landscaping to allow airflow behind panels.
A well-maintained Hardie exterior can easily last half a century.
Step 7: Compare with Other Siding Materials
| Material | Lifespan | Cost per sq. ft. | Maintenance | Insulation Value |
|---|---|---|---|---|
| Hardie Board (Fiber Cement) | 30–50 yrs | $12–$16 | Low | Medium |
| Vinyl Siding | 20–30 yrs | $6–$9 | Very Low | Low |
| Wood Siding | 20–35 yrs | $10–$14 | High | Medium |
| Engineered Wood | 25–40 yrs | $8–$12 | Moderate | Medium |
Step 8: Pair with Coordinated Interior Finishes
To maintain cohesive design flow, homeowners often complement their new exterior with popular laminate floor patterns that reflect similar tones or textures.
Example: Cool gray Hardie siding pairs beautifully with light ash or stone-look laminate flooring indoors.
Builder’s Notes
Installing Hardie board siding is a long-term investment that rewards preparation, precision, and proper care. It’s durable, beautiful, and ideal for climates that challenge traditional materials.
👉 If you’re planning your next remodel, think beyond the short-term look — choose materials engineered for decades of protection and curb appeal.